D1 modules OTA
This chapter describes the OTA upgrade methods for each D1 module.
1. D1 ros2
Before upgrading, please ensure that the robot is operating normally and that the robot is in the prone position.
sudo systemctl stop d1_bringup.service
sudo apt update # If installation of the .deb package fails, execute this command and try installing again.

sudo apt install d1-ros2
# Uninstall
sudo dpkg --purge d1-ros2
sudo rm -rf /opt/d1_ros2

# Version check

dpkg -l d1-ros2
After installation, three services will be placed in the directory lib/systemd/system:
robot@tita:~$ ls /lib/systemd/system/ | grep d1_bringup.service
Warning
If users are developing new controllers or new features, please stop the above services and do not perform biped-wheeled/quadruped mode switching.
2. MCU Module OTA
Since MCU module OTA requires the OTA upgrade tool, please download it first.
sudo apt update
sudo apt-get install motor-upgrade

# Note: Please check whether python3-pip is installed. Install if necessary.
# Command to upgrade MCU firmware and motor firmware
sudo systemctl stop d1_bringup.service
otafifth_demo -f $BIN_PATH

# After upgrading, you may check the MCU version
can-app -Version
Note
Please note: To ensure successful upgrading, confirm that the robot is functioning normally (all 8 motors communicate properly), and adjust the robot to the prone posture.
3. System Restore to Factory Settings
Precautions
Carefully read the instructions and flashing documentation. Once flashing begins, it is deemed that the user has read the following notes.
System flashing is an irreversible process. Essentially, it restores the system to factory state. Please ensure you back up personal data.
Do not operate the robot or power it off during the flashing process.
Preparation
Flashing tool: Ubuntu 22.04 computer
Hardware: The flashing cable packaged with D1 (insert with mark A facing outward into DBG port; plug in the cable before powering on).
This process requires downloading the flashing package to the computer (Linux system only). Create a new folder and extract the flashing package into this new folder.
# in ubuntu22.04 host computer
sudo apt install abootimg binfmt-support binutils cpio cpp device-tree-compiler dosfstools
        lbzip2 libxml2-utils nfs-kernel-server openssl python3-yaml qemu-user-static
        sshpass udev uuid-runtime whois rsync zstd lz4
# Copy everything — these are dependencies required by NVIDIA for flashing.
# Install all dependencies on the computer used for flashing, NOT on the robot.
Download apollo-ubuntu-${date}.tar (Download the system package of the corresponding date; contact our FAE team for the latest system package.)
mkdir apollo-ubuntu(You may create this folder anywhere on the computer.)
tar -xf apollo-ubuntu-${date}.tar -C apollo-ubuntu (Extract the package into the newly created folder)
2. Start Flashing
Enter the folder you just created:
cd apollo-ubuntu
sudo ./flash_robot.sh Note: Some Ubuntu systems may lack sshpass and nfs-kernel-server. Install whichever is missing.


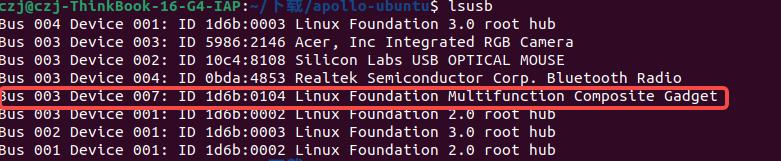
3. Completion Indication When flashing is complete, you will see the following information:
Running lsusb will also show information similar to the following:
Remote Controller Firmware Upgrade
Required tools: Windows system (Windows 11 or later), USB-C cable
Procedure
Enter Firmware Update Mode
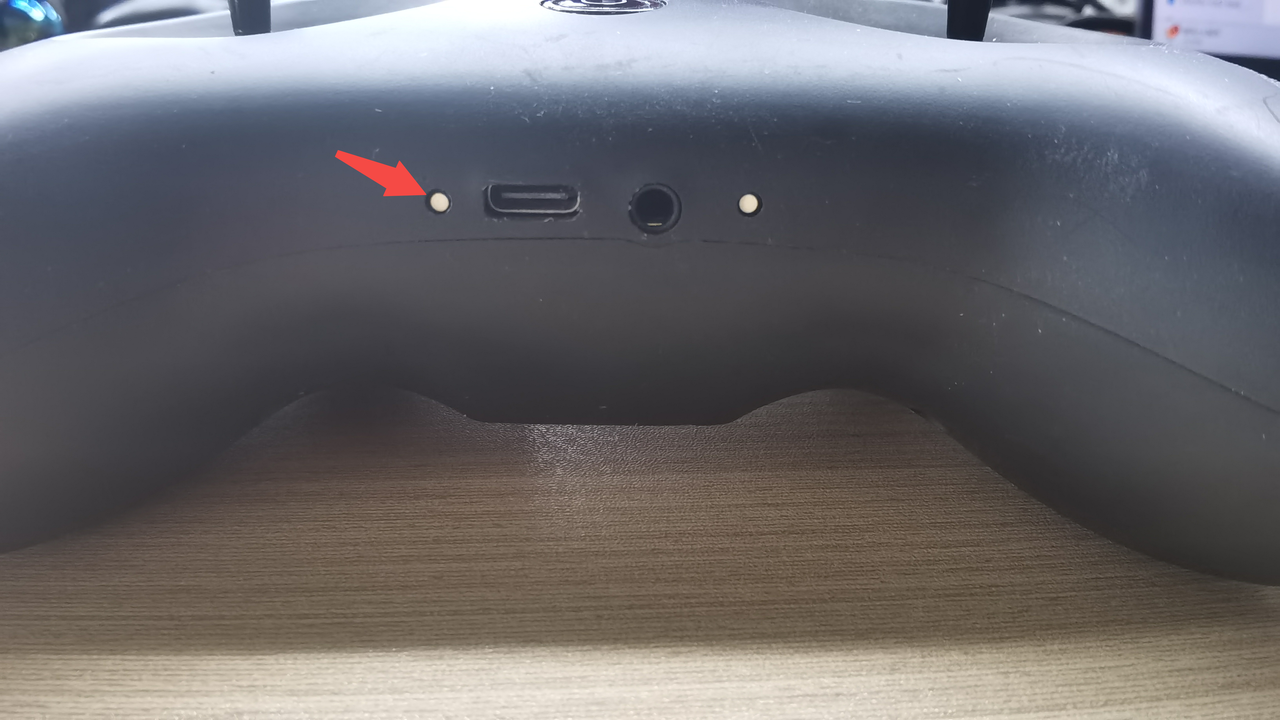
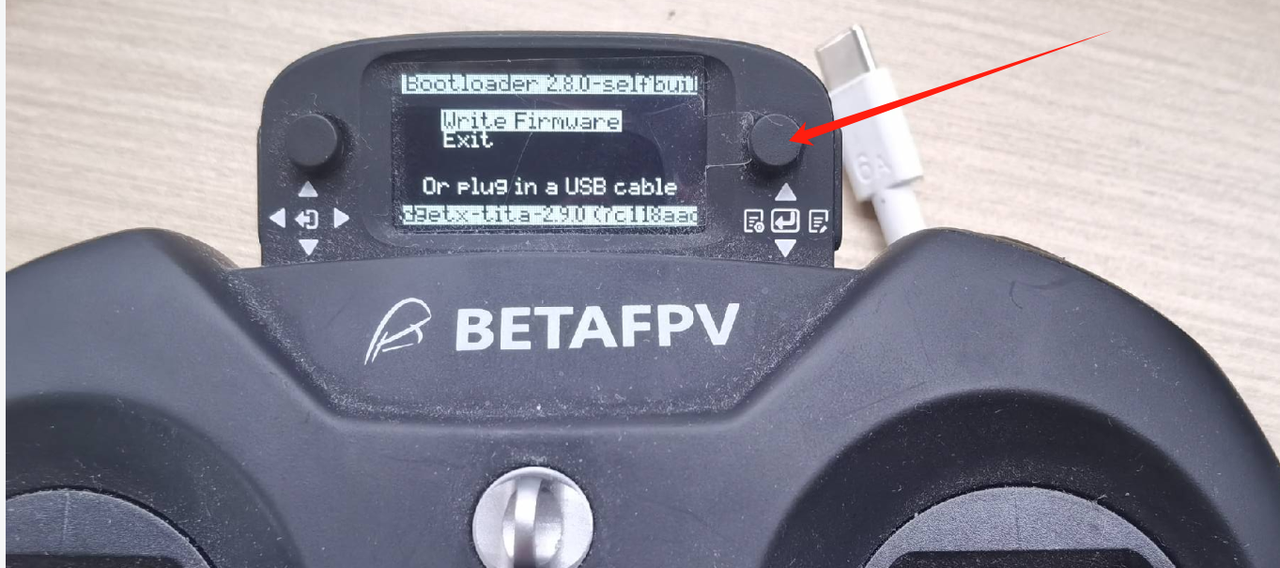
(1) Press the two buttons shown in the image simultaneously:
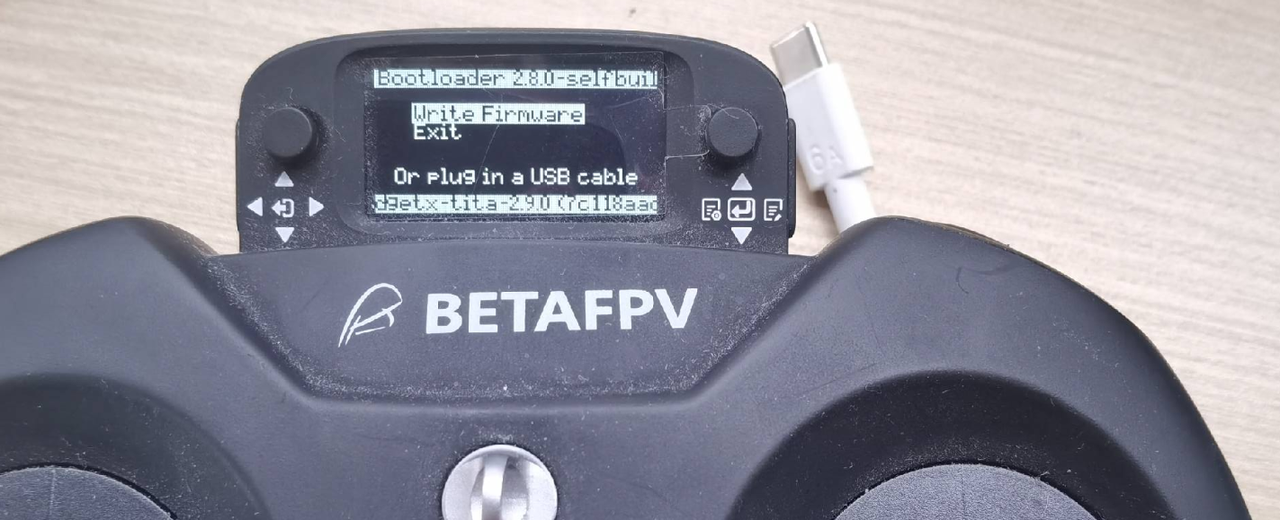
 (2) After pressing the buttons, the controller enters the interface shown below, indicating successful entry into firmware update mode:
 2. Start Updating
(1) Connect the controller to the PC via USB-C. A USB drive window will appear (this is the controller’s internal storage):
2. Start Updating
(1) Connect the controller to the PC via USB-C. A USB drive window will appear (this is the controller’s internal storage):
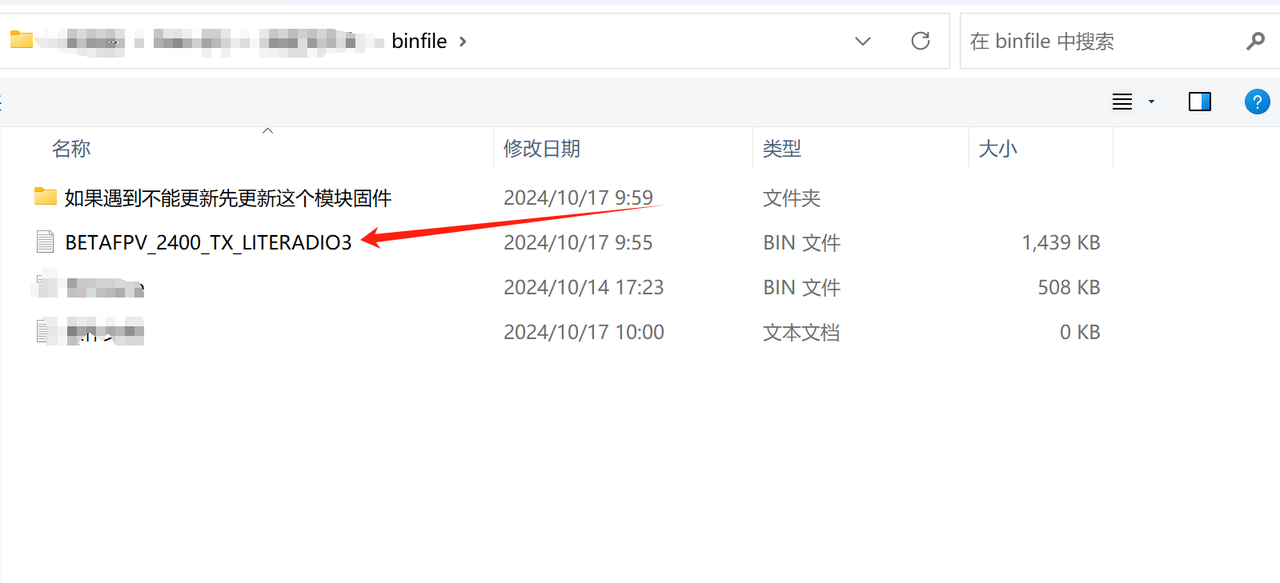
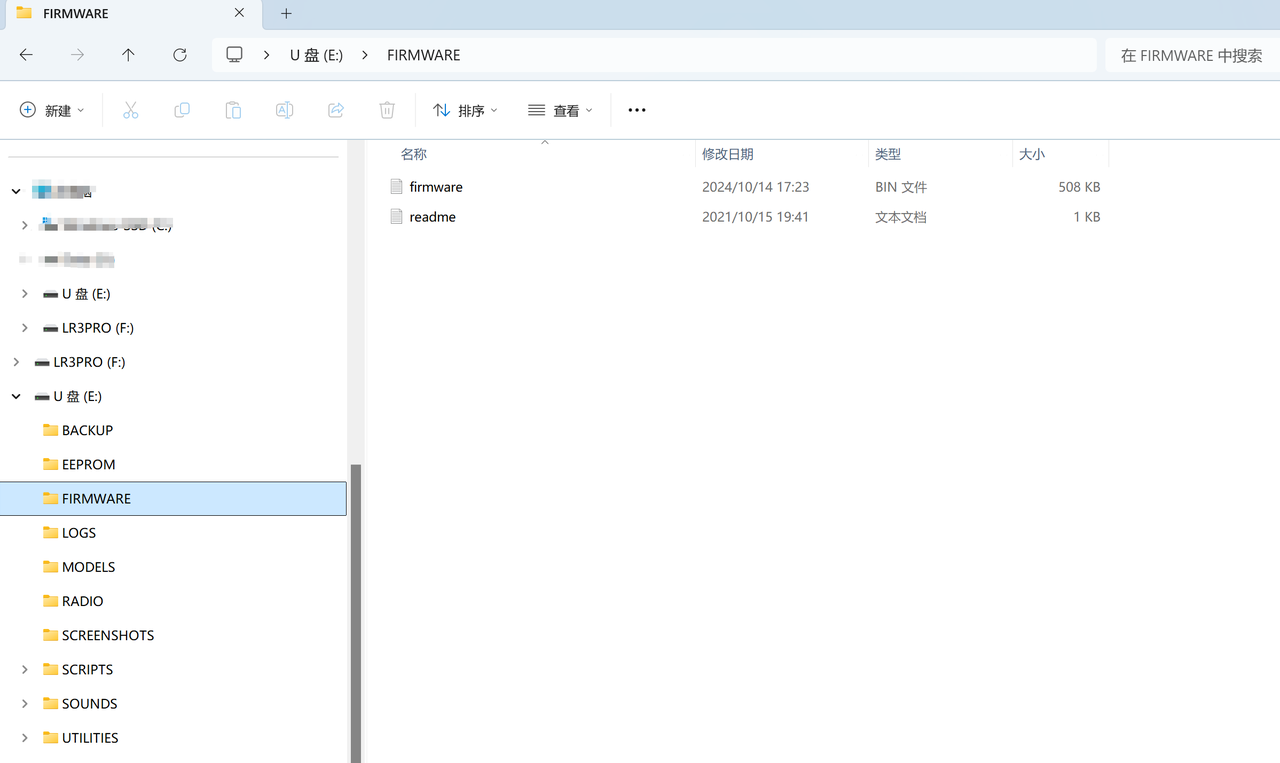 (2) Place the latest
 firmware.bin into the FIRMWARE directory as shown above.
(PS. If you do not have a firmware file or need the latest version, please contact our support engineers.)
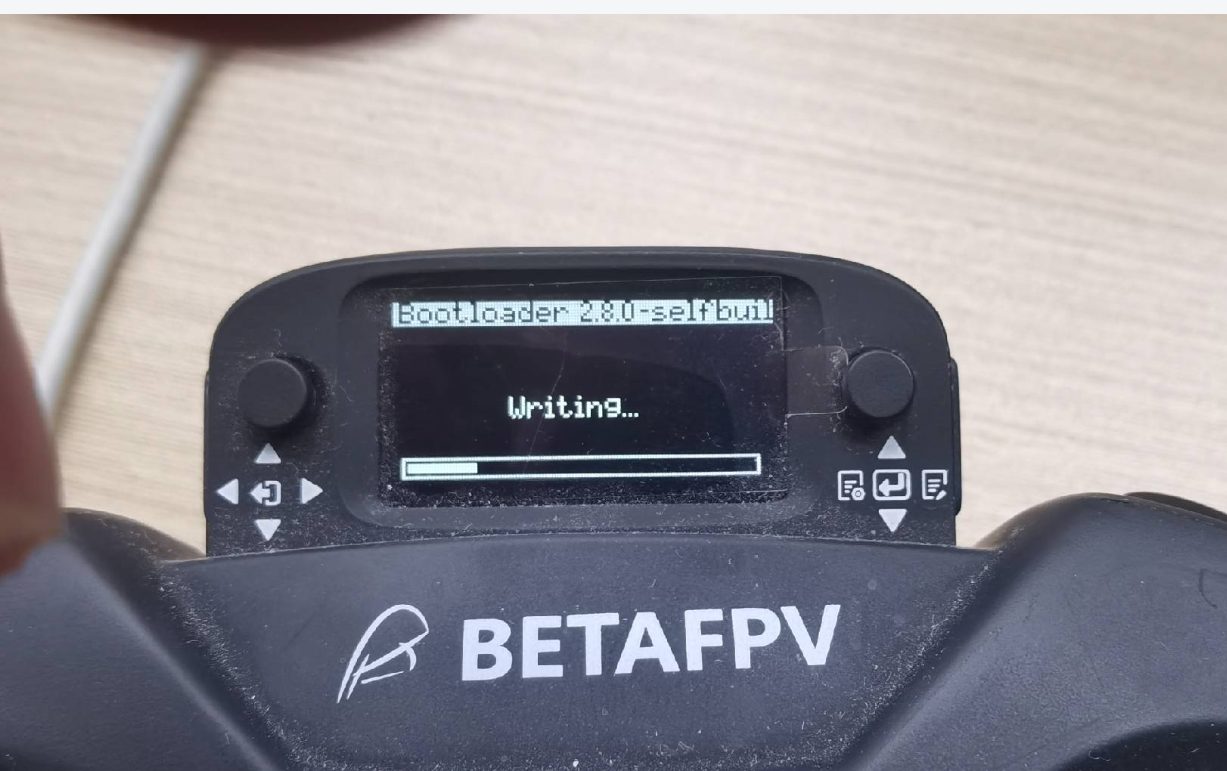
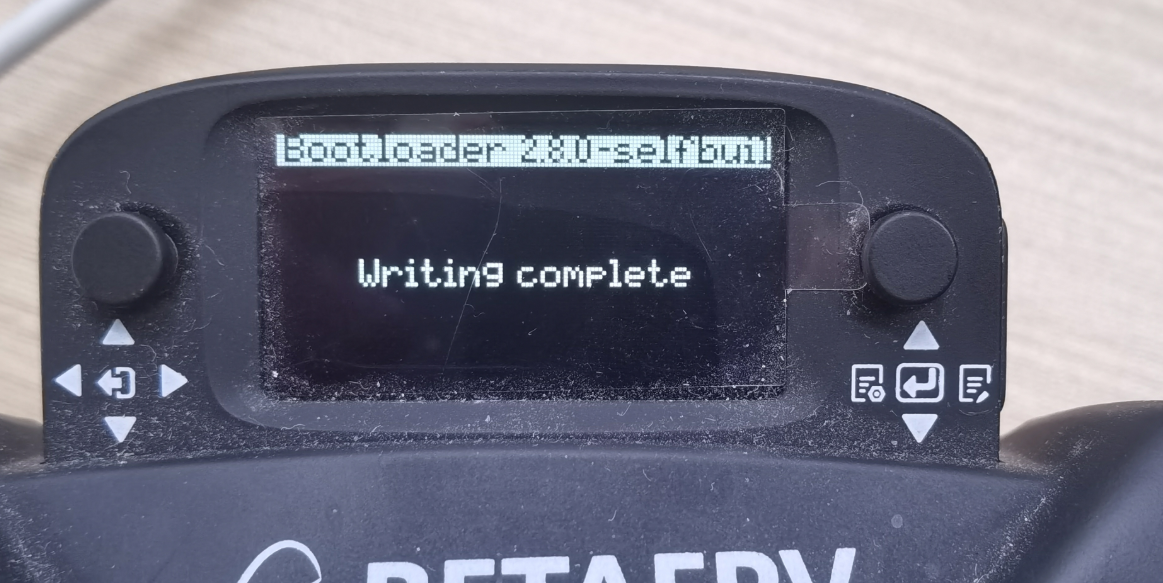
(3) Disconnect the USB-C cable, press the right button, and hold it until the screen displays writing, indicating that the firmware is being flashed. Wait patiently until Writing Complete appears:
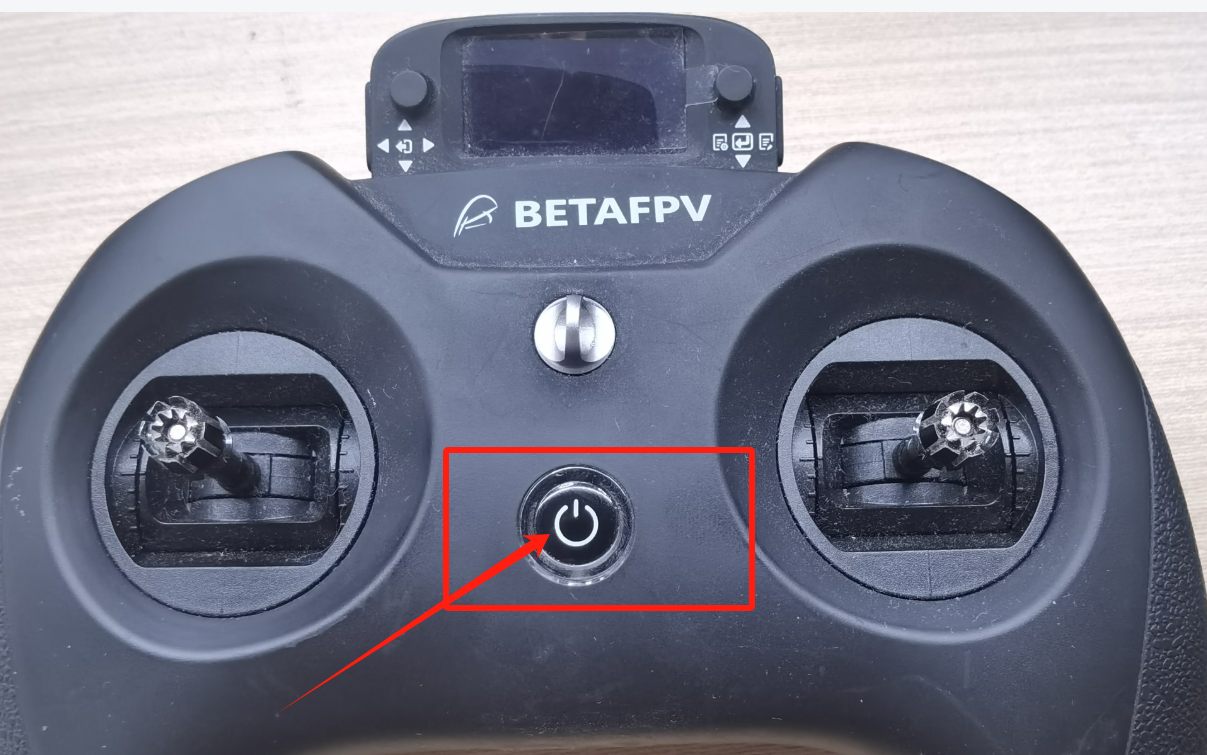
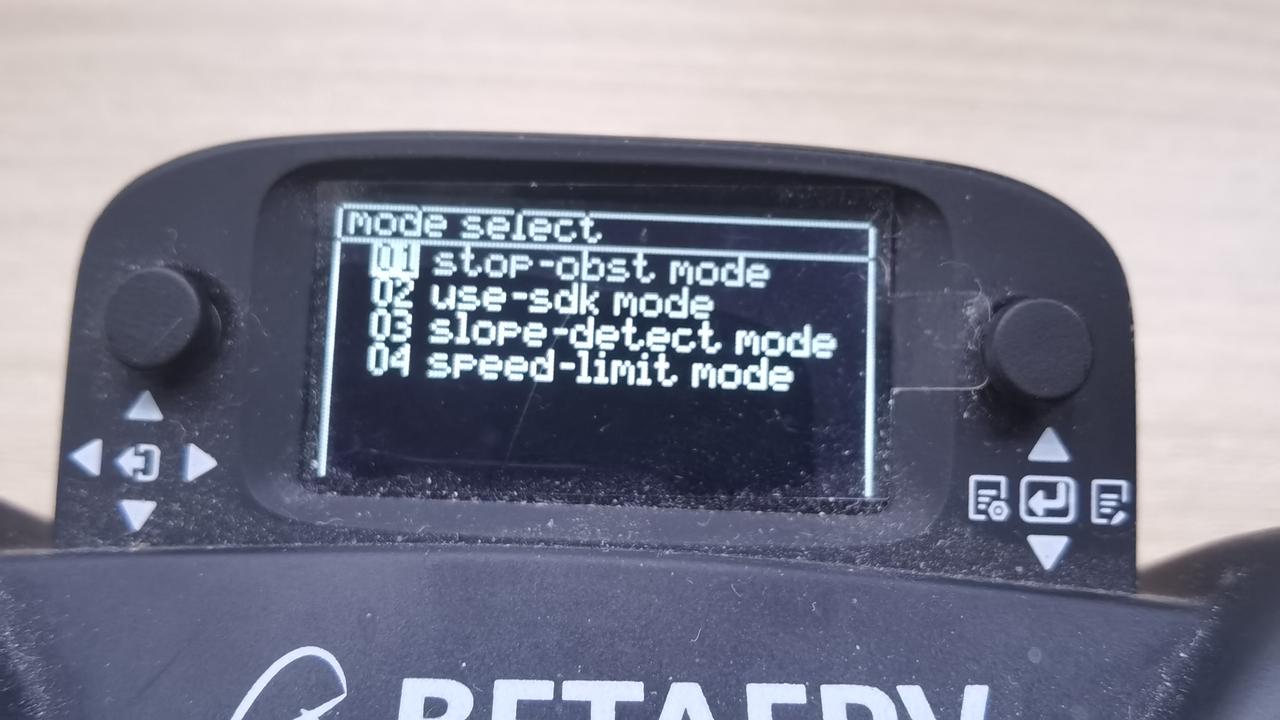
 (4) Restart the controller by pressing the power button. Then press the right button inward to enter the
 mode select interface:
 3.Update the Receiver
Completing the above steps finishes the first stage of the firmware upgrade. Next, update the receiver:
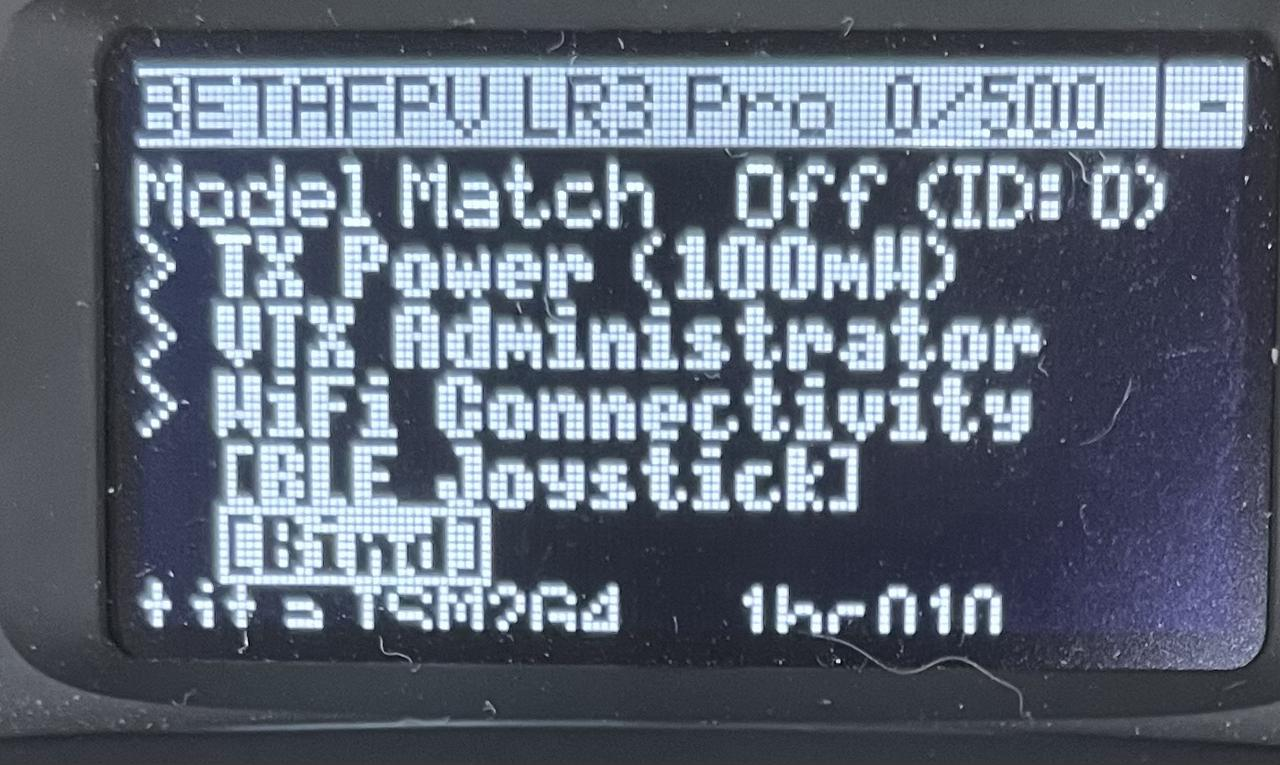
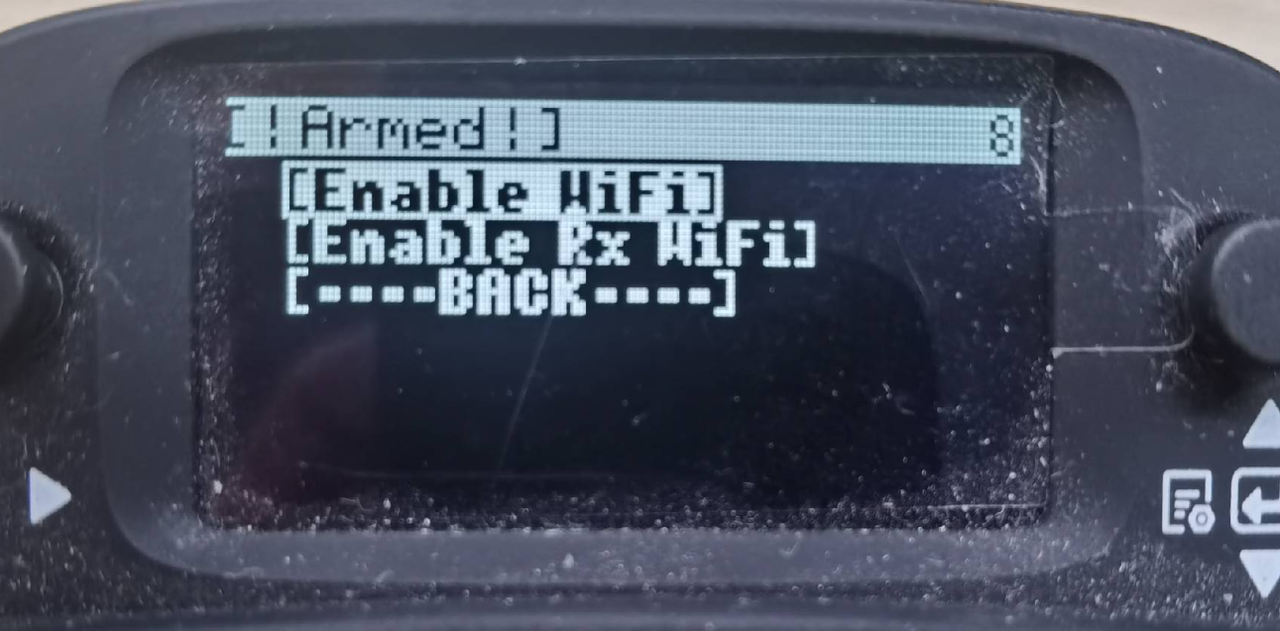
(1) After powering on the controller, push the right button leftwards, then navigate:
Tools → ExpressLRS → wifi connectiving → Enable wifi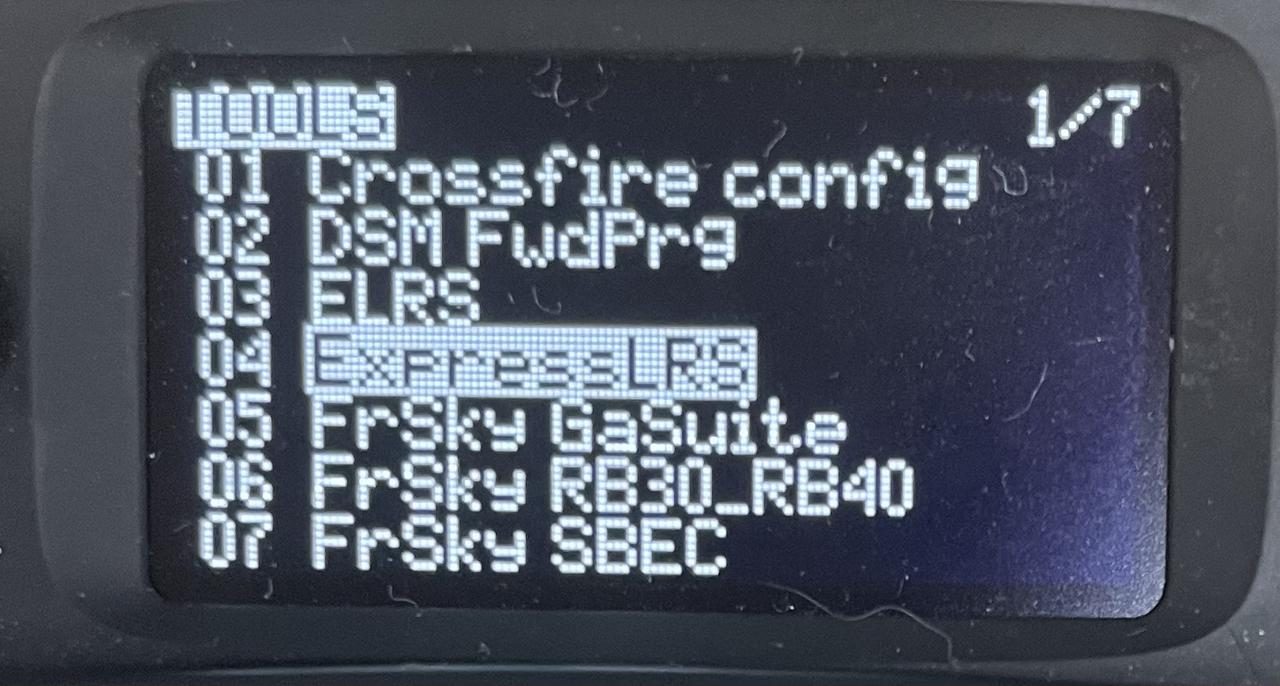
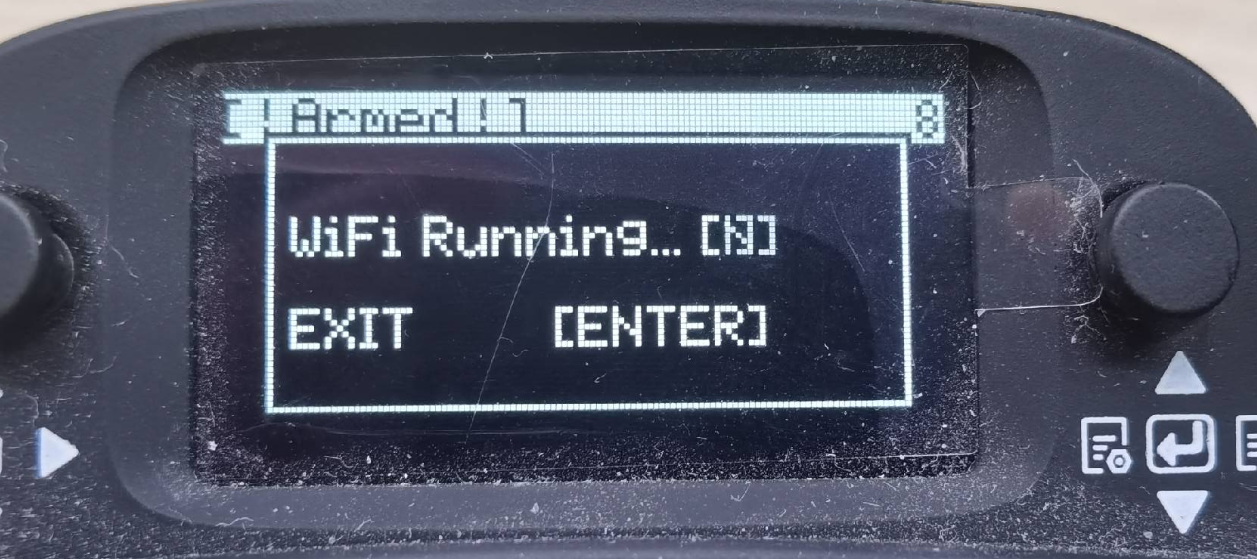 (2) Connect your PC to the Wi-Fi network:
Wi-Fi name: ExpressLRS TX
Password: expresslrs
(2) Connect your PC to the Wi-Fi network:
Wi-Fi name: ExpressLRS TX
Password: expresslrs
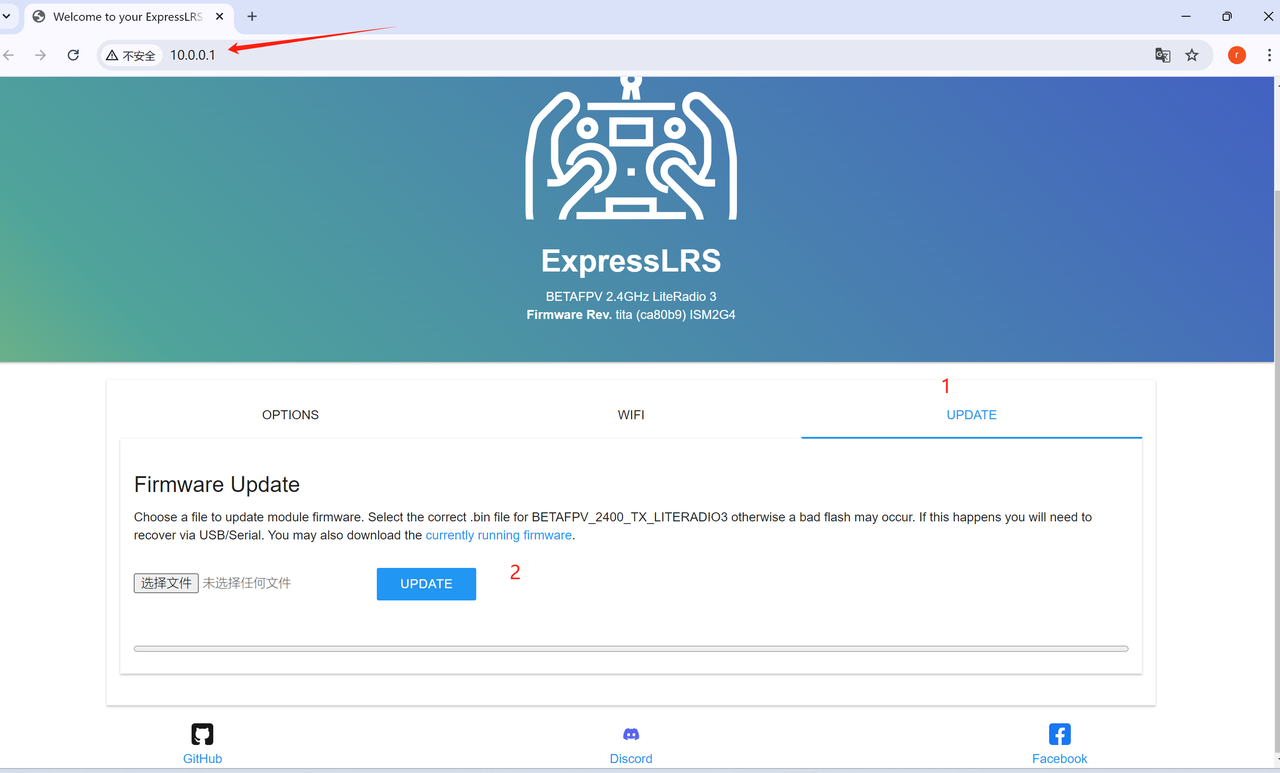 (3) Click UPDATE. If the update fails as shown, update the module in the first folder first:
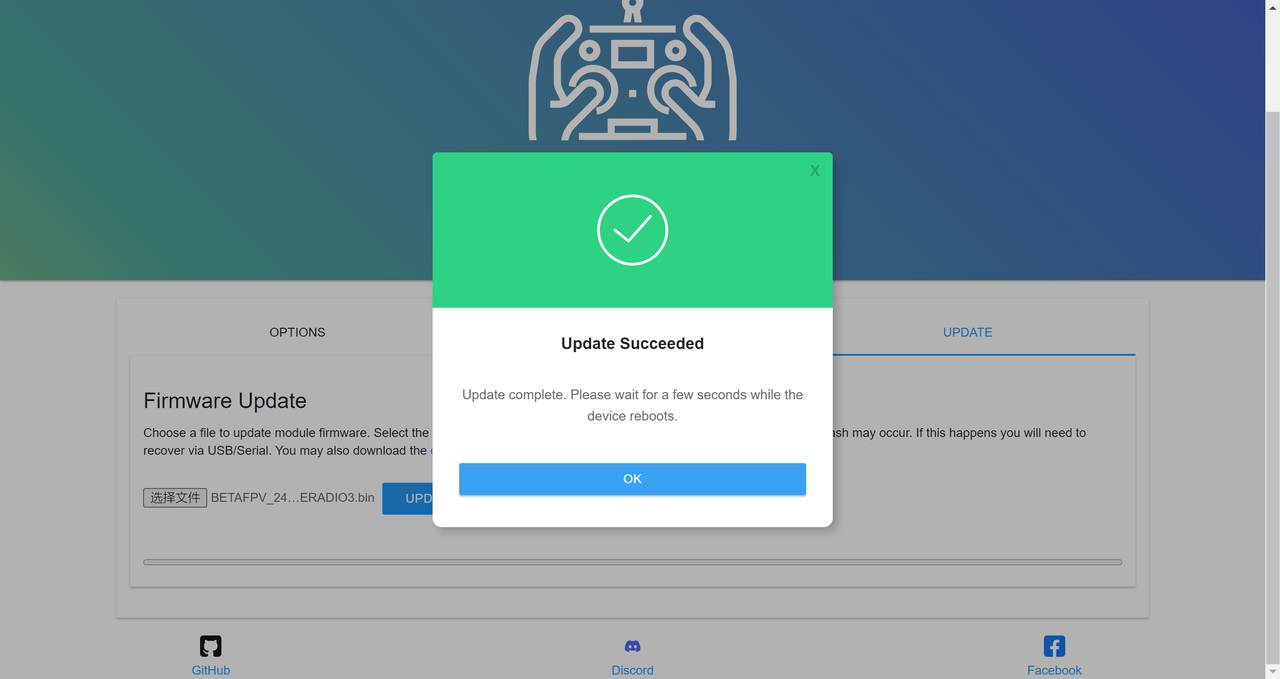
 (4) Updating successfully will display the following interface:
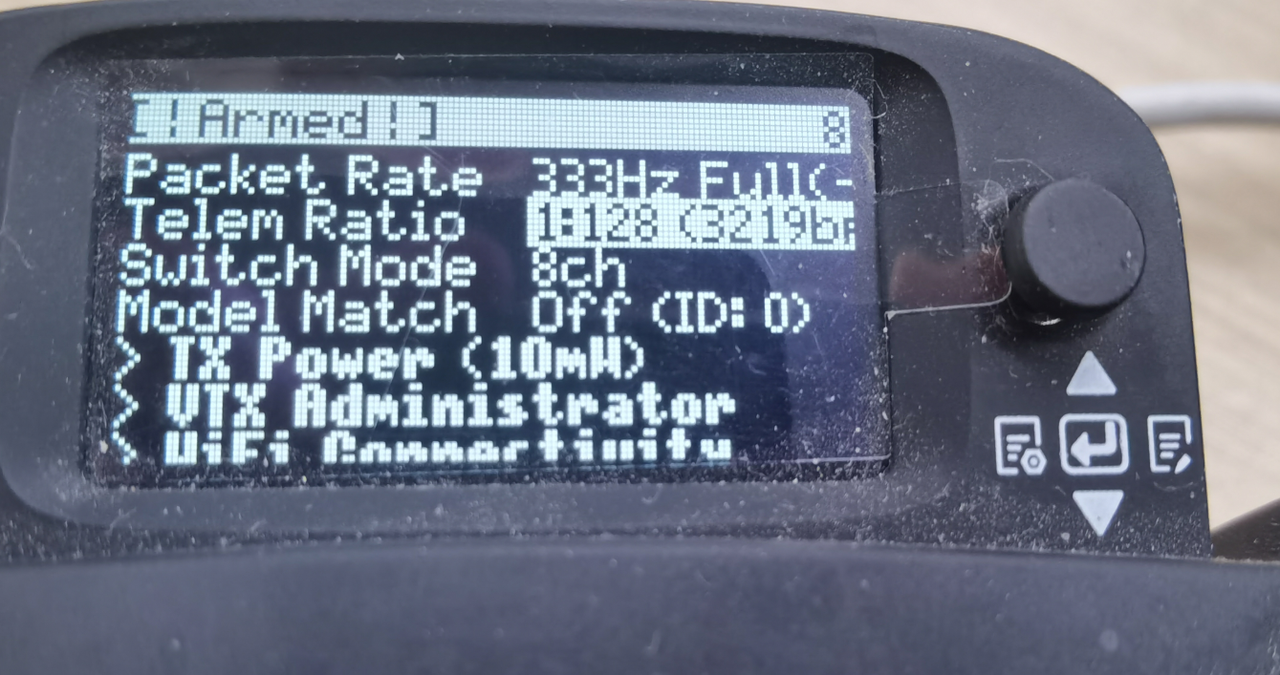
 (5) After completing the above, restart the controller and configure the telemetry ratio:
Tools → ExpressLRS → Telem Ratio → Set to 1:128
Press to select (flashing indicates selected):
(5) After completing the above, restart the controller and configure the telemetry ratio:
Tools → ExpressLRS → Telem Ratio → Set to 1:128
Press to select (flashing indicates selected):
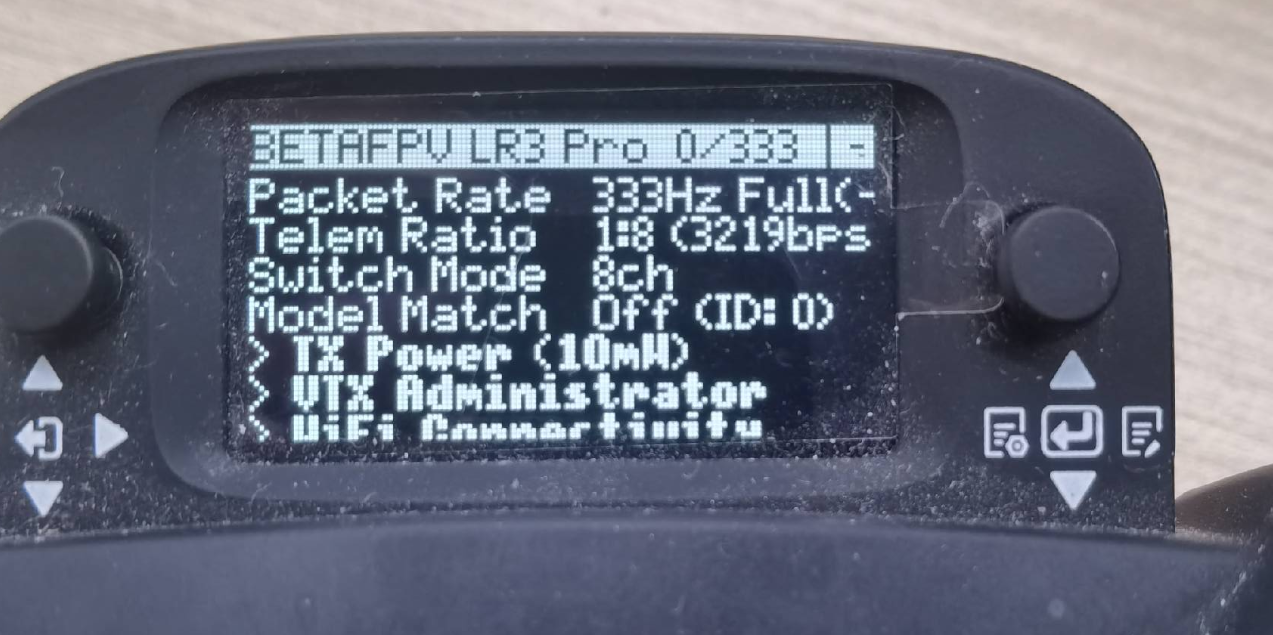
 (6) Scroll down to 1:8, press the middle button to confirm. Configuration complete:
 At this point, the controller firmware has been fully upgraded.