Hardware Pairing and Connection
Remote Controller Pairing Method 1
Note: For older system versions, install the pairing tool using:
Note
sudo apt install crsf-app
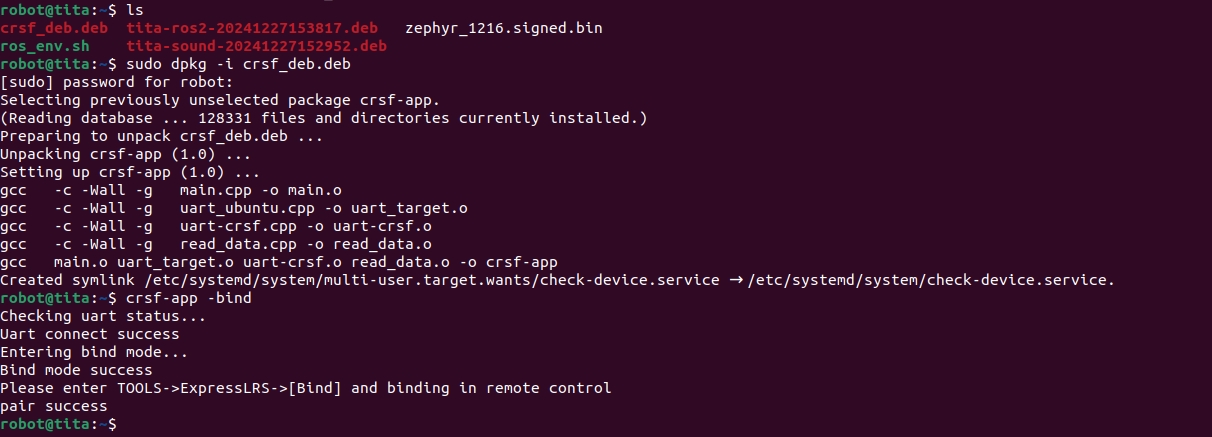
Install crsf-app (skip if already installed):
sudo dpkg -i crsf-app
# If not installed:
sudo apt update
sudo apt-get install crsf-app
Run the pairing command:
crsf-app -bind

You should see output similar to the screenshot.Power on the remote controller. Push the right-side button left to enter the menu, then navigate: Tools → ExpressLRS → Bind. This starts binding with the receiver.
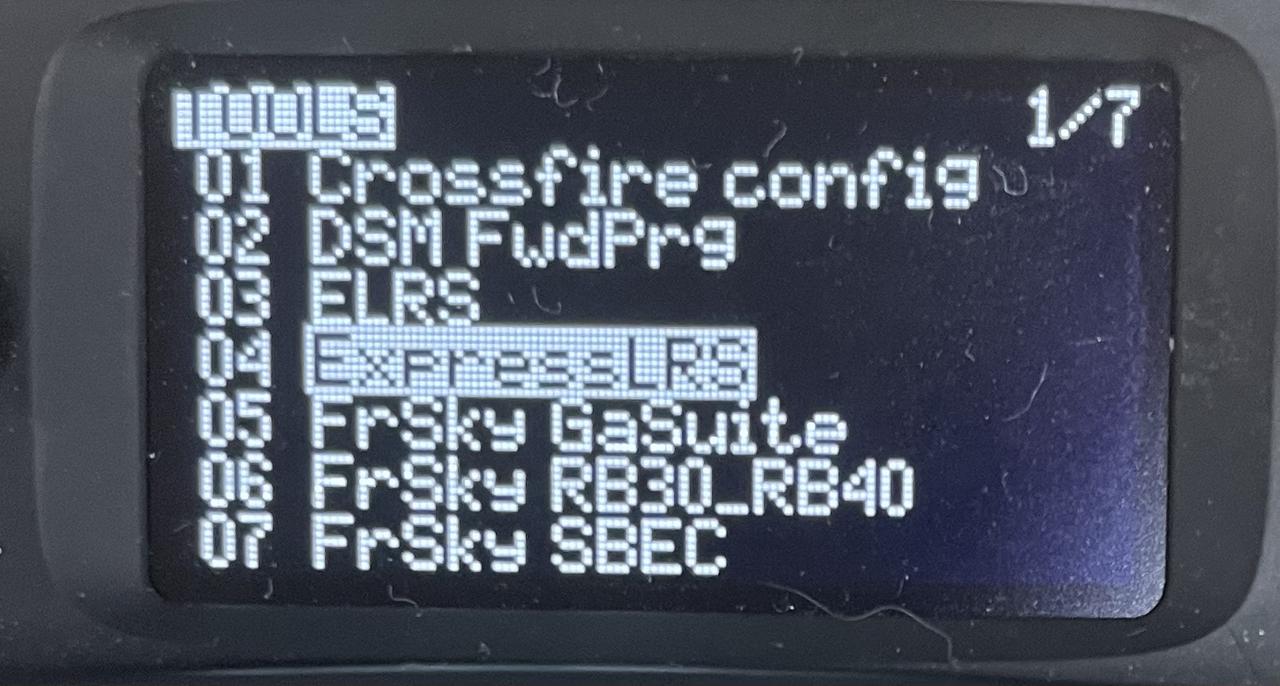

When pairing is successful, the controller will display: pair success
Remote Control Pairing Method 2
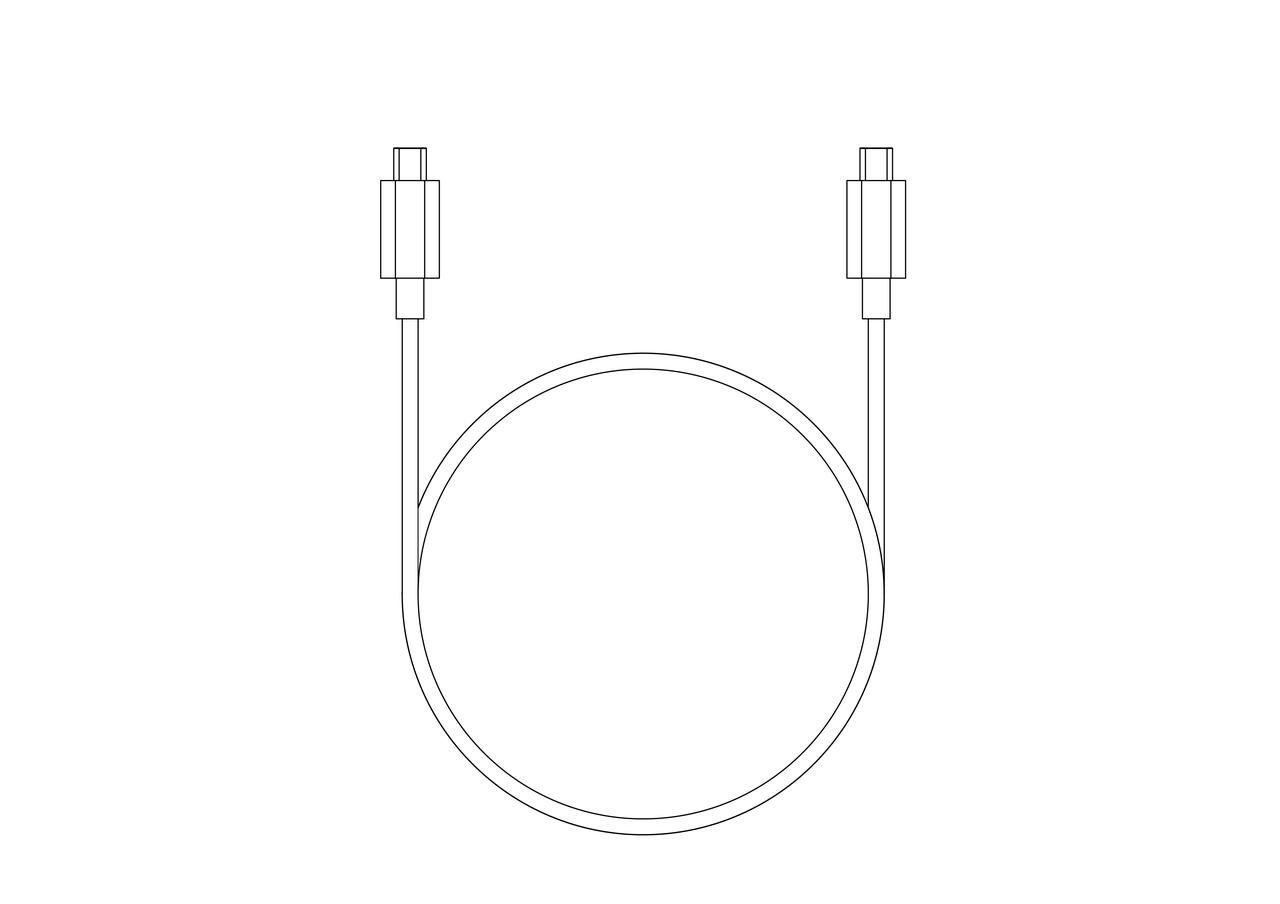
Obtain the supplied dual-head USB-C cable or use your own full-featured USB-C to USB-C cable.
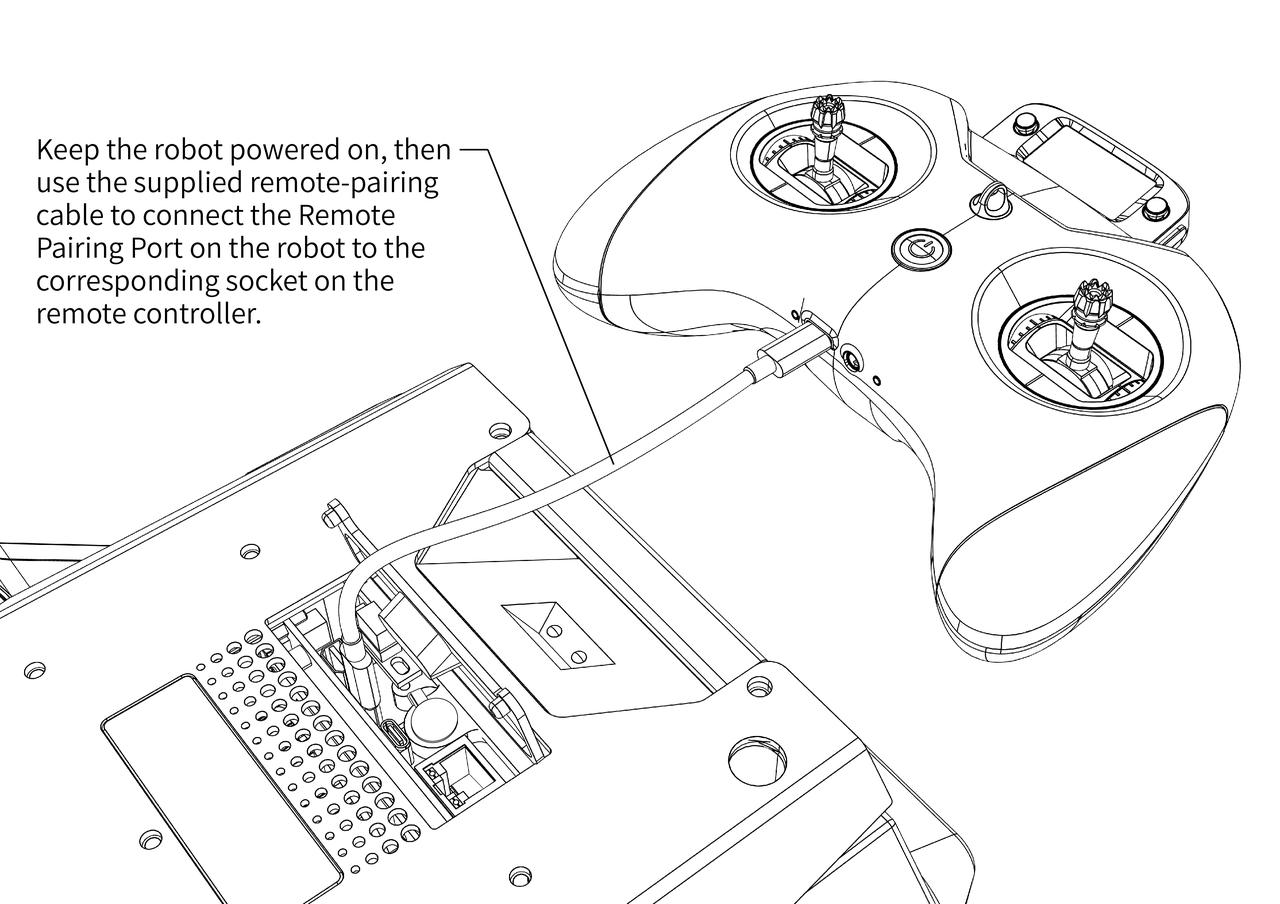
Keep the robot powered on; connect the cable to the USB-C port located next to the Gigabit-Ethernet jack and to the remote controller (see illustration).
 Once the remote controller is linked to the robot, the handset will display a “Select Mode” menu—choose the third option: USB Serial.
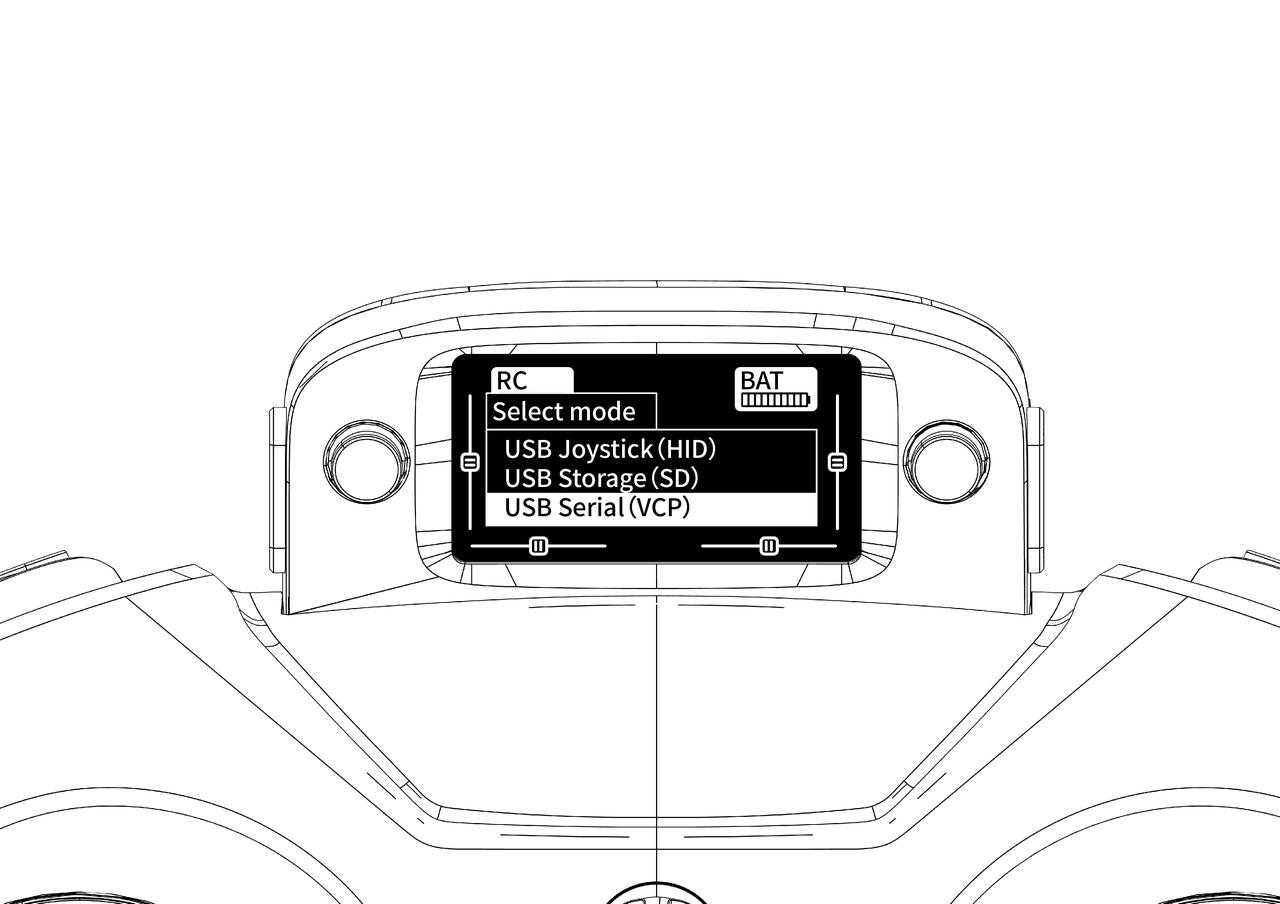
Wait until the remote controller’s blue LED begins to blink slowly or stays solid; pairing is then complete.
Remote Emergency Stop Switch Pairing
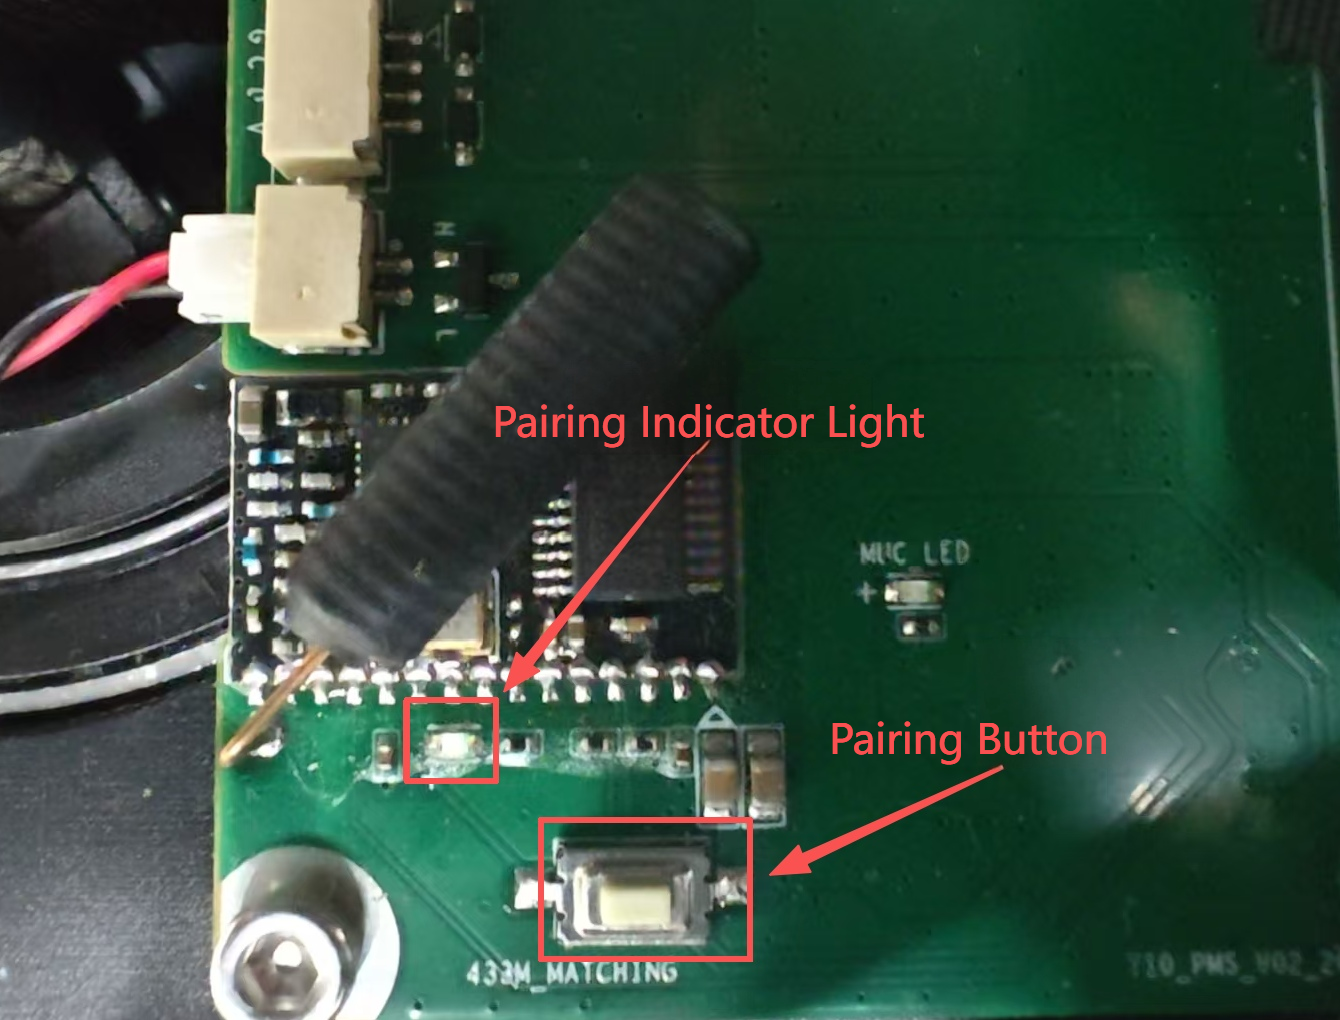
Remove the robot side panel to expose the emergency-stop receiver and buttons.

Long‑press the pairing button on the receiver for 5 seconds until the indicator LED stays solid.
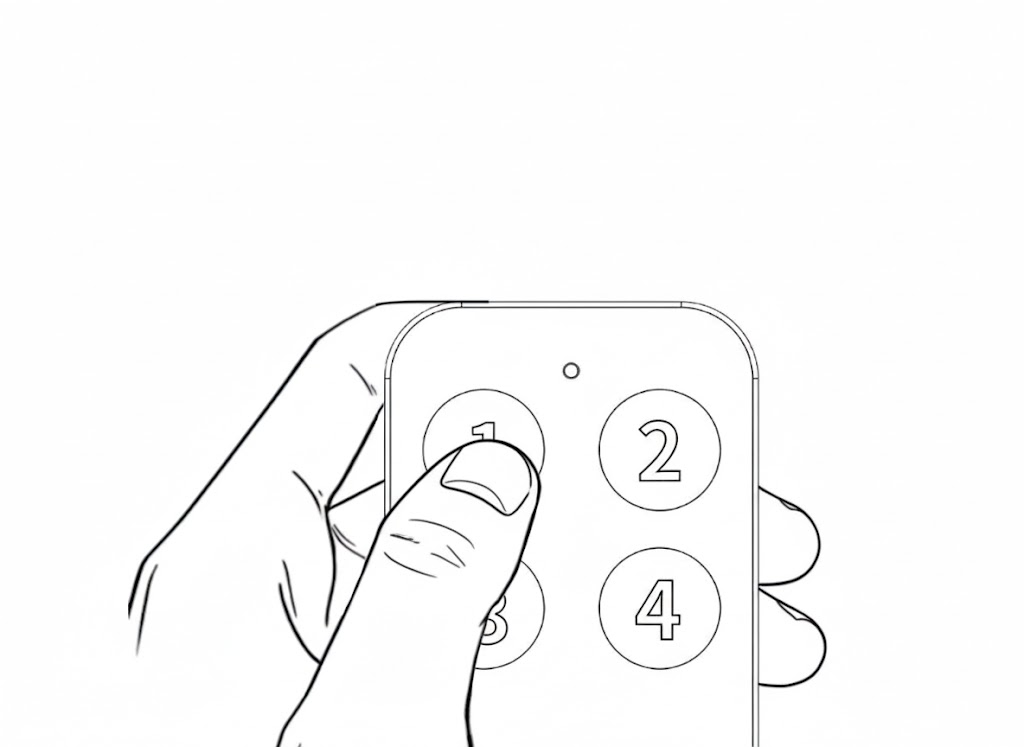
Simultaneously long‑press button 1 and button 2 on the emergency stop remote until its indicator light stays solid.
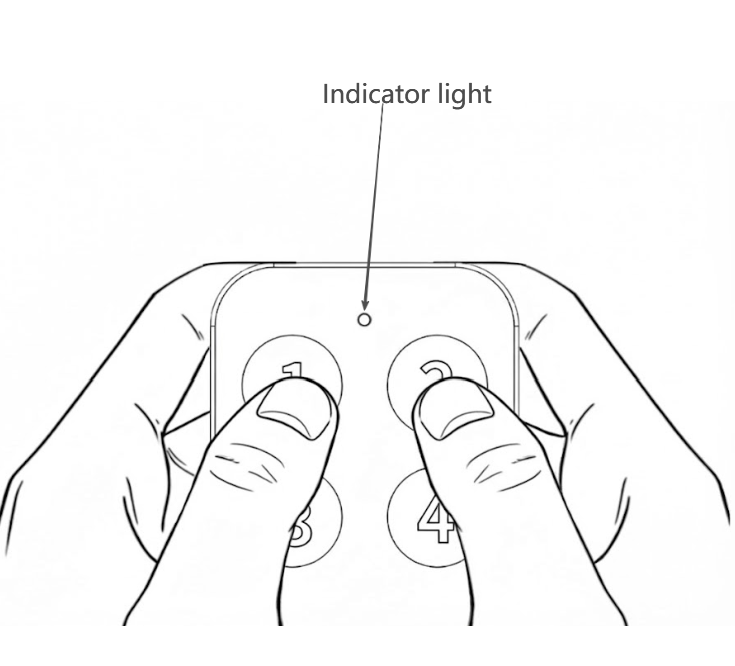
Press button 1 again.
Reboot the robot. Pairing is now complete.